
Published article
How to Clean a Smart Lock Without Causing Damage
Learn how to clean a smart lock safely, protect its keypad and finish, and tell when a sticky or unreliable lock needs more than cleaning.
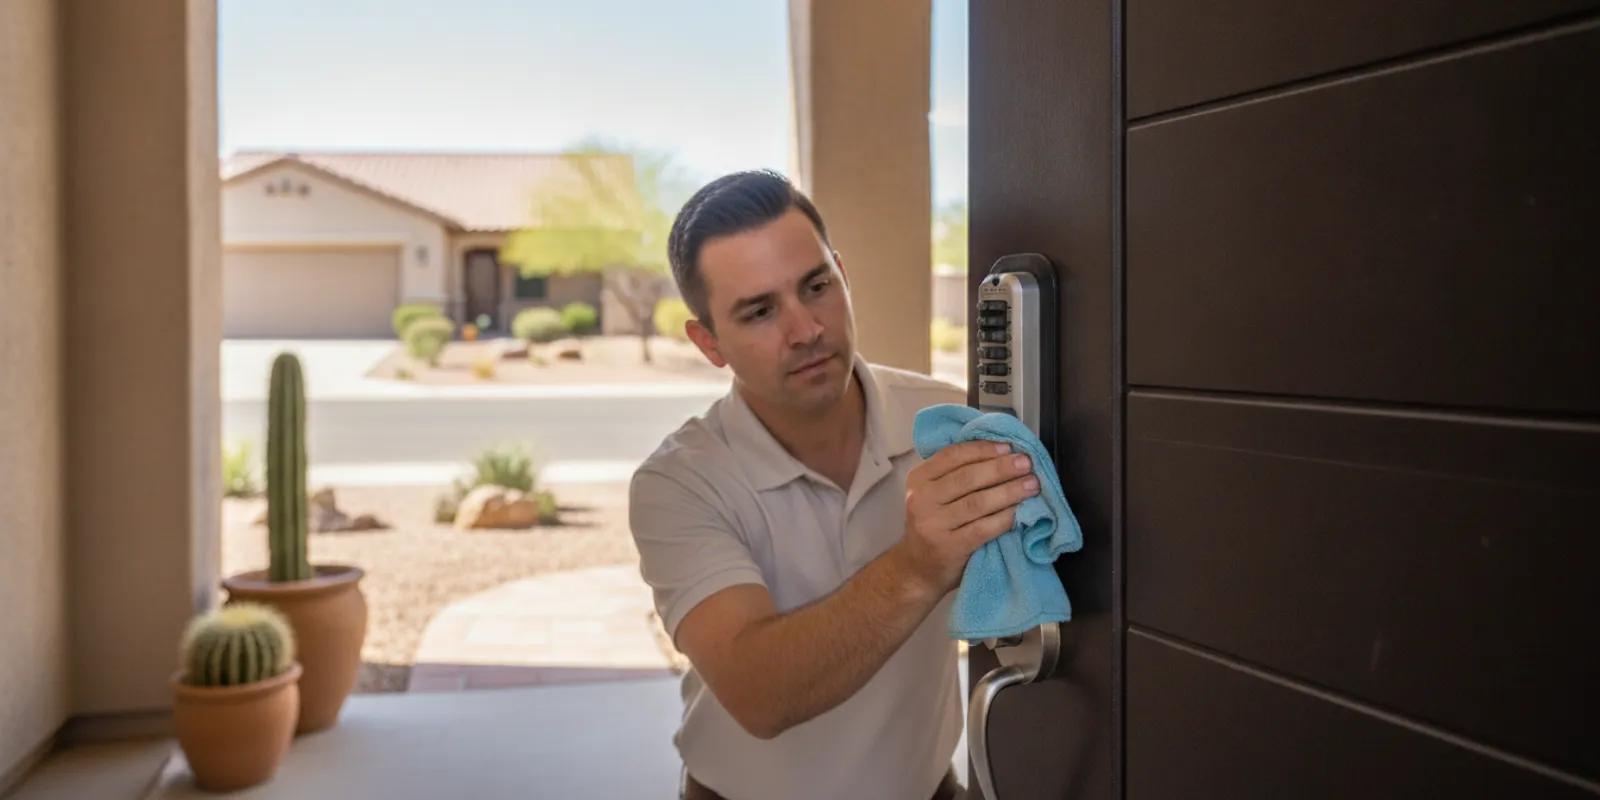
A little careful maintenance can keep your smart lock looking clean and help you notice wear before it becomes a bigger annoyance. If you are wondering how to clean smart lock hardware safely, the main rule is simple: follow the manufacturer’s instructions, use minimal moisture, and keep liquids out of openings and moving parts. Different models use different finishes and electronic components, so do not treat every lock the same way.
What should you check before cleaning?
Start with the manual or the manufacturer’s care instructions for your exact lock. Check whether the instructions address the keypad, touchscreen, exterior finish, mechanical keyway, and battery compartment separately. A single lock can combine several materials, and the maker may give different directions for each surface. If you do not have the manual, look up the model using the manufacturer’s official documentation rather than guessing about approved cleaners.
Before you begin, consider the lock’s condition and the reason you are cleaning it. If the keypad is cracked, buttons are loose, the lever is wobbly, or the lock is already behaving unpredictably, cleaning may not address the cause. Note any warning lights or error messages so you can compare them after cleaning. If the lock is under warranty, check its care terms before using a product that could affect coverage.
- Keep the door unlocked while you clean, if practical, so a temporary lock issue does not leave you unable to enter.
- Have another entry option available, such as a physical key or another authorized access method, if your model supports one.
- Use a soft, clean microfiber cloth and have a second dry cloth ready.
- Do not spray cleaner directly onto the lock.
- Keep liquids away from seams, the keyway, buttons, and battery compartment.
- Do not remove the lock or open its electronics housing just to clean it.
Take a moment to identify the lock model before you gather supplies. The model name may be on the interior side or in the paperwork, but do not remove covers or disassemble the lock to find it. If the model is not obvious, a photo of the exterior and the manual or purchase information may help you identify it. This small check prevents the common mistake of applying general screen-cleaning advice to a lock face with a finish that has different care requirements.
Which supplies are safe to use?
For routine dust and fingerprints, begin with a dry microfiber cloth. If the product instructions permit damp wiping, lightly moisten a cloth with water and wring it out well. The cloth should feel barely damp, not wet. Wipe the exterior gently, then use a dry part of the cloth to remove remaining moisture. The goal is to lift surface dust, not to wash the lock.
Avoid abrasive pads, scouring powders, stiff brushes, and rough paper towels. These can scratch a touchscreen, keypad surface, or decorative finish. Do not use solvents, bleach, ammonia-based products, or household disinfectants unless the lock maker specifically approves them. A cleaner that is fine for a countertop may cloud a coating or damage printed symbols on a lock. Do not mix cleaning products or use a strong product simply because a mark is difficult to remove.
Do not pour lubricant into a keyway or apply oil to the keypad. Lock lubrication requirements vary by product, and some lubricants attract dust or interfere with components. If a mechanical cylinder is stiff, check the maker’s instructions or ask a locksmith which product and method suit that lock. Cleaning and lubrication are separate maintenance tasks; adding a product during a wipe-down is not a safe shortcut.
Keep your cloth clean, too. A cloth used on a dusty sill or greasy kitchen surface can carry grit or residue that scratches the lock. If you are cleaning more than one lock, use a clean section of the cloth for each or switch to a fresh one. Do not use a cloth that has detergent, polish, or fabric softener residue unless the care directions specifically allow it.
How do you clean a smart lock step by step?
- Read the care instructions. Confirm the approved method and any products to avoid for your exact model. If the directions prohibit moisture, use a dry cloth only.
- Secure access. Keep another entry option available, such as a physical key or a second authorized access method. Do not start if the lock is the only way to secure a critical entry and you are uncertain about its operation.
- Inspect and note the starting condition. Look for cracks, loose trim, visible corrosion, dampness, warning indicators, or a sagging handle. If you see damage or the lock is malfunctioning, pause and consult the manual rather than using cleaning to troubleshoot an internal issue.
- Remove loose dust. Use a dry microfiber cloth and light pressure. Work from the top of the exterior surface down, and do not push dust into the edges of buttons or the keyway.
- Spot-clean the exterior. If permitted, use a barely damp cloth, not a spray bottle. Wipe only the exterior surfaces and avoid seams, openings, and the space around moving parts. Make a pass over one small area at a time so you can see whether the surface responds normally.
- Dry it promptly. Use a separate soft cloth to remove moisture. Let the lock air-dry fully before operating it if the instructions recommend that.
- Check function. Test the keypad or touchscreen, handle, and mechanical key operation as appropriate. Confirm the door still latches and locks smoothly, and check for any new warning or error display.
Be gentle around the keypad. Pressing hard while wiping can activate buttons or put unnecessary pressure on the screen. For a recessed button, use the edge of a clean cloth; do not insert a pin, toothpick, or other tool into the gap. If a section is difficult to reach, clean the accessible surface and stop rather than forcing a tool into an opening.
Pay attention to where the cloth is going as you work. The exterior face, handle, and trim can usually be reached without crossing the edge of a seam. Avoid wiping liquid toward the keypad border, the lock’s joint with the door, or the keyway. If moisture collects at an edge, stop and blot it with a dry cloth; do not press it inward or tilt the lock in an attempt to make liquid run out.
What should you avoid when cleaning?
| Action or material | Why to avoid it | Safer approach |
|---|---|---|
| Spraying cleaner on the lock | Liquid can run into openings or seams | Use no liquid directly; use a barely damp cloth only if approved |
| Abrasive pad or powder | Can scratch the display, keypad, or finish | Use a soft microfiber cloth and light pressure |
| Unapproved solvent or disinfectant | May discolor or damage the surface | Check the model’s care guidance first |
| Pouring lubricant into the keyway | May conflict with the maker’s instructions or collect debris | Use only the specified product and method |
| Opening the electronics housing | Can disturb components or seals | Leave internal inspection and repair to qualified service |
| Picking at button gaps | A tool can scratch a surface or push debris inside | Wipe the accessible edge with a clean cloth corner |
One practical way to decide whether an action is too aggressive is to ask whether it introduces a new risk that is not needed to remove the visible dirt. Scrubbing harder, soaking a cloth, using a stronger cleaner, or prying at a gap all add risk without proving that the stain is safe to remove. If the spot remains after the approved gentle method, stop and ask the manufacturer or a locksmith about the finish and next step.
How should you clean different areas?
Smart locks may have a smooth touchscreen, raised number buttons, a mechanical keyway, and a separate interior housing. Treat those areas as distinct rather than giving the whole assembly one wet wipe. The manufacturer’s instructions for a particular model take priority, but these general handling tips help you avoid pushing dirt or moisture into the wrong place.
Touchscreen or smooth keypad
Use a clean dry cloth first, with light strokes and little pressure. If marks remain and damp wiping is permitted, keep the moisture on the cloth and wipe the face gently. Avoid pressing or repeatedly rubbing the same point. A clean cloth section reduces streaking and keeps dust from being dragged across the display. Do not use a screen polish or glass cleaner unless the lock maker names it as acceptable.
Raised buttons and narrow edges
Wipe the top of each button and the surrounding face with a cloth corner, without pushing on the button. Follow the perimeter with the cloth rather than dragging it forcefully across raised edges. Do not use compressed air, a brush, or a pin unless the product instructions specifically direct you to do so. If grime is lodged in a gap and will not lift with a gentle cloth, it is safer to get model-specific advice than to dig it out.
Handle, trim, and exterior finish
Use a separate clean area of the cloth for the handle if it has visible oils or residue. A handle may be touched more often than the keypad, but that does not mean it can tolerate a harsher cleaner. Check whether the finish is coated or has special care instructions. Wipe lightly and dry it promptly. Do not assume that a cleaner safe for one part of the door hardware is safe for the smart lock’s display or trim.
Keyway and interior unit
Do not push a damp cloth, cotton swab, or other object into the keyway. Wipe around its exterior opening carefully, without inserting anything. The inside unit may include a battery cover, buttons, or other controls; follow the manual for those parts and do not remove covers as part of routine surface cleaning. If you need to change batteries, use the model’s instructions as a separate task and keep cleaning liquid away from the compartment.
How often should you clean a smart lock?
There is no single schedule that fits every lock and household. Clean when you see fingerprints, dust, or grime, and follow the maintenance interval in the product manual. A lock exposed to frequent handling, outdoor dust, or weather may need more attention than one on a sheltered interior door. Do not clean more aggressively just because a set schedule says to; gentle wiping is usually the appropriate starting point.
For many households, a quick visual check during ordinary door care is more useful than a calendar reminder to thoroughly clean the lock. Notice whether the keypad remains legible, the surface is dry, and the handle feels as it normally does. Then clean only when there is visible residue. A busy household with children or several residents might see fingerprints more often, while a sheltered door used by one person may remain clean longer. Either way, the manual remains the reference for product-specific maintenance.
While cleaning, check for loose mounting screws, a handle that sags, a door that rubs against its frame, or a latch that does not move freely. Do not overtighten screws or adjust the lock assembly without the product instructions. A door alignment problem can make a lock seem faulty even when the electronics are working normally. If you notice a change, record it and investigate the cause instead of wiping the same area repeatedly.
How should you handle fingerprints, residue, or outdoor dust?
Fingerprints on a smooth touchscreen, dust around raised buttons, and grime near the handle are not the same cleaning problem. Start with the least aggressive method and work only on the area that needs attention. This reduces the chance of spreading dirt toward a seam or using unnecessary moisture.
Fingerprints and light dust
Use a clean, dry microfiber cloth with short, gentle strokes. Turn the cloth to a clean section as it picks up residue. If marks remain, check whether the manufacturer permits a barely damp wipe. Do not scrub back and forth with pressure, especially across a display or coated faceplate. If the mark is still visible after an approved pass, stop rather than escalating to polish or household glass cleaner.
Dirt around buttons or edges
Wipe around the perimeter with a cloth corner, keeping the cloth from catching on raised buttons. Do not try to dig into the narrow gaps. A sharp tool can damage a seal, scratch the surface, or push debris farther inside. If buildup cannot be removed from the exterior this way, consult the product instructions or request help instead of escalating to a brush or liquid.
Sticky residue
Do not assume that a household solvent will remove adhesive safely. Solvents can affect coatings and printed markings. Check the manufacturer’s approved cleaning products, test only as directed, and stop if the finish changes. If the residue came from tape or a label, avoid pulling at nearby keypad parts or decorative trim. Do not apply heat to soften residue unless the maker specifically instructs you to; the nearby electronic parts and finish matter.
Dust or water exposure outside
Outdoor exposure varies by the lock’s location and product rating, so do not infer that a lock is waterproof just because it is installed on an exterior door. Brush-free, gentle wiping is the conservative starting point for loose dust. If rain, irrigation, or a spill has left the lock wet, do not wash it or operate it repeatedly to see whether it works. Check the manufacturer’s instructions for exposure and drying steps, and seek service if there are signs of malfunction.
What if the keypad or lock still does not work?
First, distinguish a surface issue from a functional one. If a keypad is simply smudged, a gentle wipe may help visibility. If buttons fail to respond, the lock gives an error, or the motor sounds strained, do not keep applying cleaner or force. Check the manual for basic checks, such as battery condition, and follow its exact instructions. Do not remove the lock to investigate electronics.
Look at the door, too. If the deadbolt works with the door open but binds when the door is closed, the issue may involve alignment, not dirt on the keypad. If the lock is wet, stop operating it and consult the manufacturer’s guidance. Do not heat it with a hair dryer or attempt to dry internal parts by opening the housing. Keep a note of what happened, including whether the problem began before or after cleaning, and whether it occurs every time or only when the door is shut.
Use the pattern of the problem to choose a sensible next step. A screen that is hard to read but responds normally may need only careful exterior cleaning. A keypad that no longer registers touches after a spill needs manufacturer-directed troubleshooting, not repeated wiping. A bolt that moves freely with the door open but catches against the frame points toward a fit or alignment concern. A mechanical key that suddenly becomes difficult to turn may call for advice about the cylinder, not cleaning liquid. These clues do not diagnose the lock on their own, but they help you explain the issue accurately.
For a lock that remains unreliable, a locksmith can help assess the hardware, door fit, and available repair or replacement options. The LOCK Shop serves Mesa and the East Valley with residential lock services. Explore lock services for information about repair and other hardware help, or read the locksmith FAQs for common service questions. General guidance about digital door locks can also help you understand how electronic door hardware differs from a traditional lock.
When should you ask for professional help?
Consider service when the lock repeatedly fails after the basic checks in its manual, when a key will not turn normally, when the bolt binds, or when the housing or keypad is damaged. Cleaning will not correct a worn component, a door alignment issue, damaged wiring, or an internal electronic fault. Continuing to force a lock can make the underlying issue worse.
Stop and seek advice sooner if the lock has been exposed to liquid and begins acting differently, if the keypad or housing is cracked, or if you cannot keep the door secure while testing it. Do not take apart the lock to look for moisture or attempt an unapproved repair. If there is an alternate secure entry, use it while you check the manual and arrange help. If not, explain the access concern when requesting service so the problem can be understood in context.
If you are comparing options, explain the model if you know it, what the lock does or does not do, whether the problem happens with the door open, and what troubleshooting you have already tried. Also mention any cleaner or moisture used and whether the issue began before or after cleaning. A clear description helps a locksmith understand whether the concern is likely related to the lock, the door, or access setup. For installation questions, see information about smart lock installation and hardware service. Homeowners looking at the broader residential options can also review residential locksmith services.
How can you make a simple care routine?
A short, repeatable routine is more useful than an elaborate cleaning session. When you notice fingerprints or dust, take a moment to look at the lock before wiping. Check that the door is stable, the handle feels secure, and the lock shows no warning or damage. If everything appears normal, clean the exterior gently according to the manual and test operation afterward.
For households with several users, make one person responsible for checking the product instructions and keeping them accessible. That avoids guesswork when another resident wants to use a disinfectant or remove residue. Store cleaning supplies away from the door and use a dedicated soft cloth so grit from other surfaces is not rubbed into the lock finish. You can also tell other residents not to spray the lock directly or push objects into keypad gaps.
After cleaning, record anything unusual rather than repeatedly wiping the same spot. For example, note whether the keypad intermittently misses a touch, the bolt catches only when the door is shut, or a warning appears after use. This simple distinction helps separate exterior dirt from a possible mechanical, power, or alignment concern. If the lock works as usual, put away the cleaning supplies and wait until the next visible need rather than repeating the process.
A practical routine can be as simple as three checks: Is there visible dirt? Does the lock look dry and undamaged? Does it operate as it did before? If the answer to the first is yes and the other two are also normal, follow the manual and clean only the exterior area that needs attention. If the lock looks damaged or behaves differently, do not let routine maintenance become an excuse to keep testing it. Keep the door secure and turn to the maker’s troubleshooting guidance or service support.
Frequently asked questions
Can I use disinfectant wipes on a smart lock?
Only if the manufacturer says that product is safe for your exact model and finish. Otherwise, use the care method in the manual; a soft cloth and minimal moisture may be appropriate for some exterior surfaces, but the instructions for your lock take priority.
Can I spray glass cleaner on a touchscreen lock?
Do not spray any cleaner directly onto the lock. Check the maker’s instructions before using a cleaner at all, and if approved, apply it to a cloth rather than to the screen. A product suitable for household glass may not be suitable for a coated keypad.
Can I wash the keypad with water?
No. Do not pour or run water over a keypad. If the manual permits damp wiping, use a cloth that is only slightly moist and keep it away from openings and seams. Dry the surface gently afterward.
Should I lubricate a smart lock while cleaning it?
Not unless the manufacturer calls for it and specifies the right product and location. Lubricants are not interchangeable, and putting one in the wrong place can cause problems. Check the manual or ask a locksmith about a stiff keyway.
What if cleaning makes the lock stop responding?
Stop cleaning and avoid opening the lock. Follow the manufacturer’s troubleshooting guidance, especially if moisture may have entered. If normal operation does not return, request professional service and tell the provider what product or method you used.
Explore smart lock installation and service options
Gentle, model-approved cleaning is the safest way to remove everyday grime from a smart lock; persistent trouble is a reason to investigate the hardware rather than scrub harder.